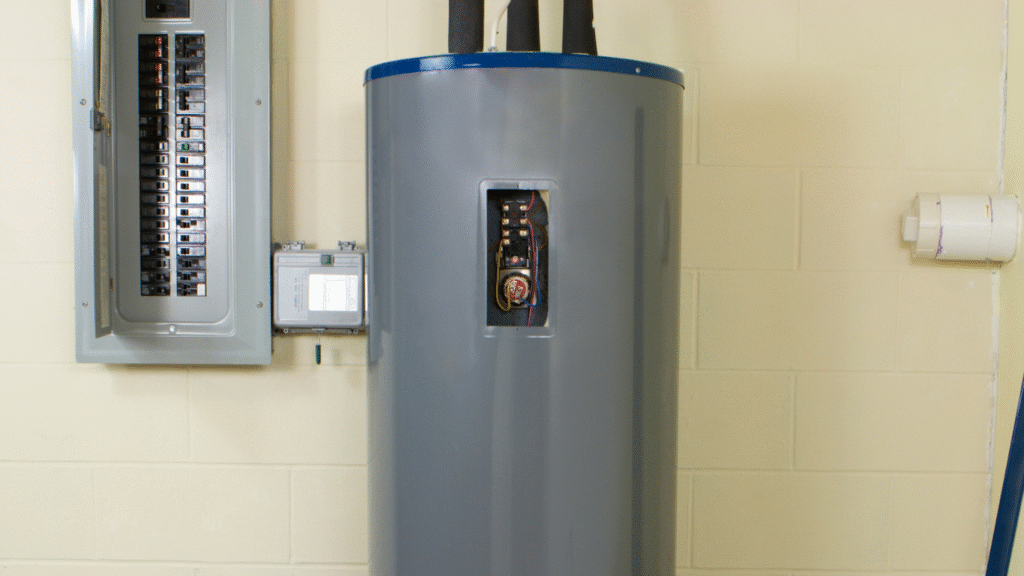
If your water heater is rumbling, your hot water looks discolored, or your utility bill keeps climbing, sediment buildup may be to blame. Many homeowners in Oʻahu face this problem because of hard water and mineral deposits. Ignoring it can lead to early heater failure, costly repairs, or even unsafe operation. That’s why knowing how to clean a water heater tank is essential.
Here you’ll learn what tools you need, the step-by-step flushing process, safety tips, how often to clean, and the signs it’s time to call a professional before small issues turn into expensive repairs.
Why Cleaning Your Water Heater Tank Is Essential?
Living in Oʻahu means dealing with mineral-rich, hard water. Those minerals settle at the bottom of your water heater, creating a thick layer of sediment. If you don’t stay on top of it, that buildup works against you. Regular flushing not only keeps your heater efficient, but also supports manufacturer guarantees and keeps your home’s hot water safe and reliable.
Here’s why keeping your water heater tank clean matters:
- Sediment Buildup: When minerals settle inside, your heater works harder and runs hotter than it should. Flushing clears out the sediment, prevents overheating, and helps maintain higher Energy Factor/UEF ratings.
- Lower Energy Bills: A clean tank heats water faster and uses less energy, which means lower monthly bills.
- Extended System Lifespan: Sediment leads to corrosion and tank failure. Simple maintenance can give your unit an extra 3–5 years of use.
- Better Water Quality: No more rusty, discolored, or foul-smelling water coming out of your tap.
- Quieter, Safer Operation: Sediment causes rumbling and popping. Flushing keeps things running smoothly.
How to Clean a Water Heater Tank
Trying to figure out how to clean the inside of a water heater tank sounds simple, but once you start, you’ll realize it takes more than just draining some water. You need the right setup, safety steps, and a clear process to avoid scalding yourself, flooding your home, or damaging the unit. Here’s what you’ll need and how to do it right.
Materials Needed
- Garden hose (long enough to reach a safe drain spot)
- Bucket (for valve checks if needed)
- Heavy-duty gloves (heat and chemical-safe)
- Screwdriver (flat-head or Phillips, depending on your model)
- Optional: wrench for the anode rod, towel, or rag for cleanup
Safety Tips Before Cleaning Your Water Heater Tank
- Switch off the power at the breaker (electric) or set the gas to “pilot.”
- Shut off the cold-water supply.
- Let the water cool down to prevent burns.
- Make sure the hose leads to a safe outdoor drain area.
- Open the pressure relief valve to vent air.
- Always wear gloves and eye protection.
- Double-check for leaks before turning everything back on.
- Stick to your manufacturer’s instructions to protect your warranty.
Step-by-Step: How to Clean the Inside of a Water Heater Tank
- Turn off both the power and the cold-water supply.
- Connect the garden hose to the drain valve at the bottom of the tank.
- Open the pressure relief valve to allow airflow.
- Open the drain valve and let water and sediment flow until it runs clear.
- Briefly turn on the cold-water inlet to stir up and flush out leftover debris.
- Close the drain valve, then remove the hose.
- Refill the tank fully by turning on the cold-water supply.
- Watch the relief valve until water spurts out; this means air is cleared.
- Only restore power or gas once the tank is full.
- Test your system and check for leaks.
Pro tip: During this process, check your anode rod and TPR valve. These are small parts that play a big role in preventing corrosion and ensuring safety.
How Often Should You Clean Your Water Heater Tank?
As a general rule, you should flush the tank once a year. In Oʻahu’s hard water conditions, every six months is even better. If your heater is older, more frequent flushing can save you from bigger problems.
A practical schedule is to flush your tank twice a year, in spring and fall. Whatever schedule you pick, consistency is key.
And remember: don’t just wait for annual maintenance if you’re already noticing warning signs. Strange noises, rusty or smelly water, or low pressure are clear red flags. Here are more signs you need water heater repair.
When to Call a Professional Plumber
There are times when DIY won’t cut it:
- The sediment is so thick it won’t flush out.
- You spot leaks or corrosion around the tank or valves.
- The TPR valve or anode rod isn’t working right.
- Sediment keeps coming back right after flushing.
- You’re dealing with gas lines, venting, or electrical issues.
- You’re not comfortable handling the process safely.
- Your warranty or local code requires certified service.
This is where a licensed plumber ensures the safety of both your water heater and your home. Professionals have the tools and experience to keep your system safe, efficient, and compliant with Oʻahu’s requirements.
All Aloha Plumbing: Trusted Experts for Reliable Hot Water
When your hot water isn’t reliable, you need a local team that understands Hawaii’s unique conditions. At All Aloha Plumbing, we specialize in tank water heater services, from cleaning and maintenance to repairs and upgrades.
With years of hands-on experience, we use advanced diagnostic tools and proven equipment to deliver long-lasting results. We’re here for you around the clock with 24/7 emergency plumbing services.
To keep things affordable, we also offer flexible service agreements that help cut energy costs while extending the life of your system. You can always count on our customer-first approach: responsive service, upfront pricing, and a satisfaction guarantee.
Call us at (808) 201-7526 or schedule your appointment today.


